


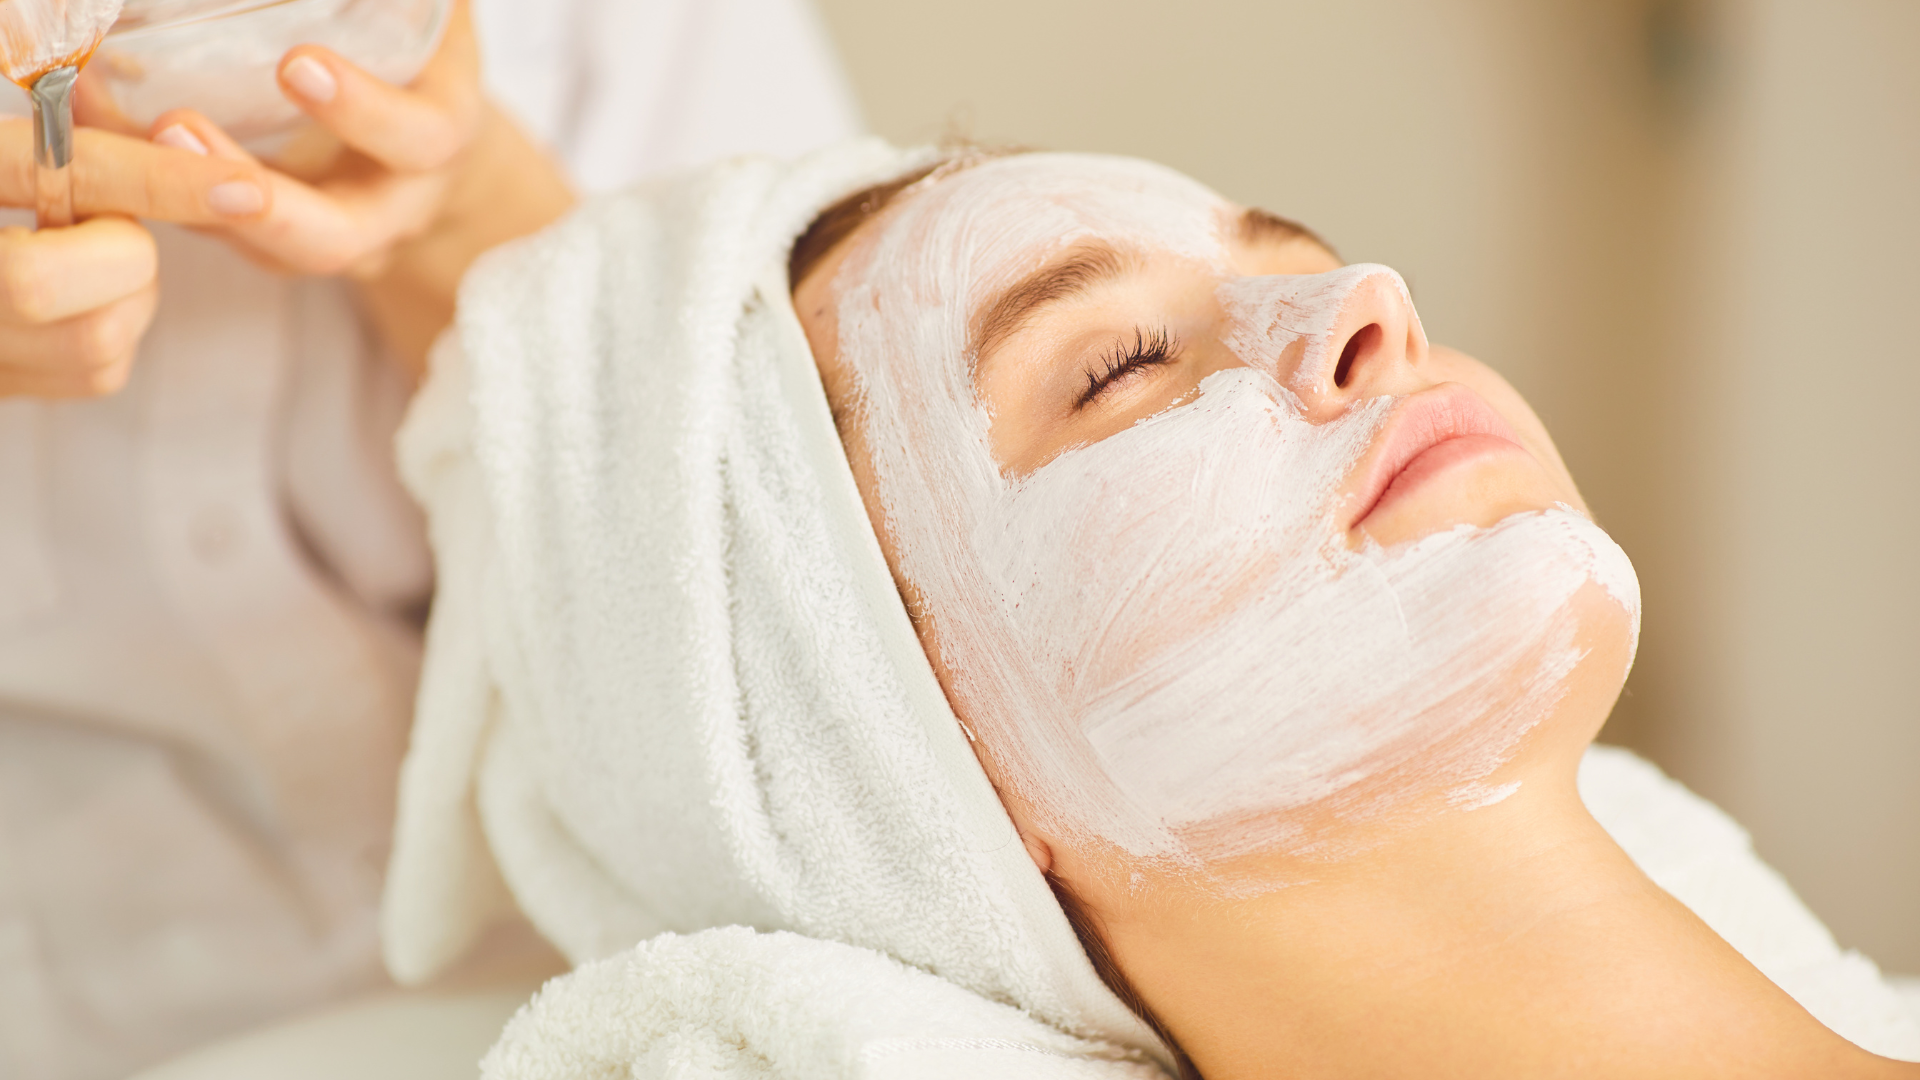
Unlocking the Secret to Silky, Smooth, and Relaxed Permed Hair: A Professional’s Guide
Permed hair is a beautiful, versatile style that adds volume, texture, and personality to any look. However, for many clients, the journey doesn’t end with the perfect perm. Over time, they may seek to relax their curls or waves for a smoother, more manageable style. As a spa, clinic, salon, or wellness business owner, understanding how to safely and effectively relax permed hair is crucial. Not only does it expand your service offerings, but it also builds trust and loyalty with your clients. This comprehensive guide will walk you through the steps, techniques, and best practices for relaxing permed hair, ensuring you deliver exceptional results every time.
Understanding the Structure of Permed Hair
Before diving into the relaxation process, it’s essential to understand what happens to hair during a perm. A perm involves breaking and reforming the disulfide bonds in the hair using chemicals like ammonium thioglycolate. This process reshapes the hair into curls or waves. Relaxing permed hair, on the other hand, aims to reverse this process or soften the curls significantly. It requires careful consideration of the hair’s condition, porosity, and history of chemical treatments.
Why Clients Seek to Relax Their Perms
Clients may want to relax their permed hair for various reasons:
- Change in style preference: Trends evolve, and clients may desire a straighter, smoother look.
- Manageability: Some find permed hair challenging to maintain daily.
- Damage control: Over-processed permed hair can become dry and brittle, requiring corrective treatments.
- Growing out the perm: As new hair grows, clients may want to blend the permed and natural sections seamlessly.
Pre-Treatment Assessment: The Foundation of Success
Never skip the consultation and assessment phase. This step is critical to avoid damage and ensure satisfactory results. Here’s what to evaluate:
Hair Health and History
Assess the hair’s condition, including its elasticity, moisture levels, and any signs of damage. Ask about the client’s hair history:
- When was the perm applied?
- Have there been previous chemical treatments (e.g., coloring, bleaching, straightening)?
- What is their current hair care routine?
Strand Test
Always perform a strand test before proceeding with any chemical service. This helps determine how the hair will react to the relaxer and allows you to adjust the formula or timing accordingly.
Step-by-Step Guide to Relaxing Permed Hair
Relaxing permed hair is a meticulous process that requires precision and care. Follow these steps to achieve optimal results:
Step 1: Choose the Right Relaxer
Not all relaxers are created equal. For permed hair, opt for a mild, no-lye relaxer or a thio-based relaxer, as these are gentler on already chemically treated hair. Avoid using strong lye-based relaxers, which can cause excessive damage.
Step 2: Prepare the Hair and Client
Preparation is key to minimizing damage and ensuring client comfort:
- Do not shampoo: Hair should be unwashed for at least 48 hours before relaxing to allow natural oils to protect the scalp.
- Apply a protective barrier: Use a petroleum-based product around the hairline, ears, and neck to prevent irritation.
- Section the hair: Divide the hair into four quadrants for easy application.
Step 3: Apply the Relaxer
Work efficiently but carefully:
- Start applying the relaxer about half an inch away from the scalp to avoid overlapping onto previously permed hair.
- Use a brush for even application, focusing on the mid-lengths and ends first, as these areas are more porous and process faster.
- Avoid applying relaxer to already relaxed or straight sections to prevent over-processing.
Step 4: Monitor Processing Time
Timing is critical. Process the relaxer according to the manufacturer’s instructions, but keep a close eye on the hair’s response. Check every 3-5 minutes by smoothing a small section. The hair is ready when it stretches slightly and returns to its original state without breaking.
Step 5: Rinse Thoroughly
Once processing is complete, rinse the relaxer out immediately with lukewarm water. Avoid using hot water, as it can irritate the scalp. Rinse until the water runs clear to ensure all relaxer residue is removed.
Step 6: Neutralize the Hair
Neutralizing is a non-negotiable step. It stops the chemical process and rebalances the hair’s pH. Use the neutralizing shampoo provided with the relaxer kit, and lather it through the hair for at least 5 minutes. Rinse and repeat to ensure complete neutralization.
Step 7: Deep Condition
Relaxing can strip the hair of moisture, so follow up with a rich, reparative deep conditioning treatment. Leave it on for 15-20 minutes under a steamer or hooded dryer for maximum penetration.
Step 8: Style Gently
After conditioning, avoid aggressive styling. Use a wide-tooth comb to detangle, and allow the hair to air dry partially before using heat tools on a low setting.
Post-Treatment Care and Recommendations
Your responsibility doesn’t end when the client leaves the salon. Provide them with clear aftercare instructions to maintain their newly relaxed hair:
Recommended Products
Suggest sulfate-free shampoos, moisturizing conditioners, and leave-in treatments designed for chemically treated hair. Products containing keratin, argan oil, or shea butter are excellent choices.
Avoid Heat and Additional Chemicals
Advise clients to avoid heat styling and further chemical treatments for at least two weeks to allow the hair to recover.
Schedule Follow-Up Appointments
Encourage clients to return for regular trims and conditioning treatments to keep their hair healthy and strong.
Common Challenges and How to Overcome Them
Relaxing permed hair isn’t without its challenges. Here’s how to handle common issues:
Over-Processed Hair
If the hair becomes over-processed, immediately stop the service and focus on reparative treatments. Use protein-based conditioners to strengthen the hair and avoid further chemical services until it recovers.
Uneven Results
Uneven relaxation often occurs due to inconsistent application. Ensure you apply the relaxer evenly and monitor processing time closely. If unevenness occurs, corrective treatments may be needed after the hair has had time to recover.
Client Discomfort
If the client experiences burning or discomfort during the process, rinse the relaxer out immediately and apply a soothing agent like aloe vera gel.
Why Offering This Service Enhances Your Business
Adding hair relaxation services for permed hair can significantly benefit your business:
- Diversifies your service menu: Attract a broader client base.
- Builds client trust: Showcasing expertise in corrective treatments fosters loyalty.
- Increases revenue: High-value services like these command premium pricing.
Conclusion: Mastering the Art of Hair Transformation
Relaxing permed hair is both a science and an art. By understanding the hair’s structure, following a meticulous process, and providing excellent aftercare, you can help your clients achieve their desired look safely and effectively. As a spa, clinic, salon, or wellness business owner, investing in training and quality products for this service will set you apart as a trusted expert in hair care and transformation.